The Best Buttermilk Biscuits
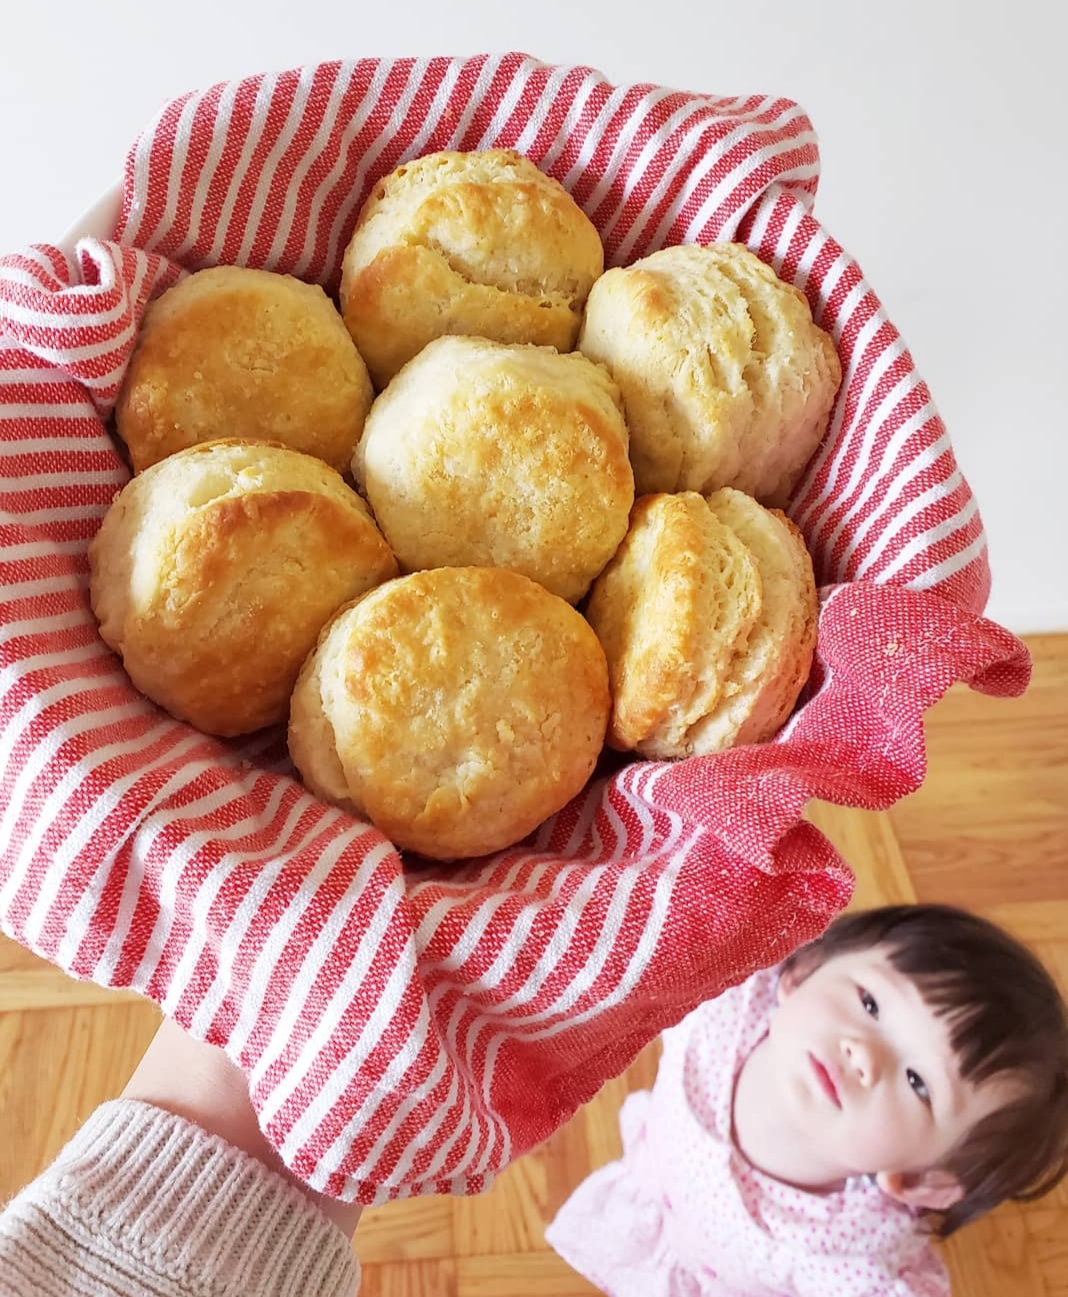
Today, I am so exited to share my homemade buttermilk biscuit recipe, and as you can see so is my little one. It is so fluffy and soft with just the right amount of crisp. These taste best when eaten warm and they are so deliciously irresistible fresh out of the oven! The hubby ate 5 right off the rack, and Elsie – my 15 month old – had an entire biscuit to herself. These disappear very quickly and you could try saving some for later… but honestly they might be gone. Since this recipe only calls for a few ingredients, I would recommend getting some good quality ones if possible. Anyway, without further ado, here we go!
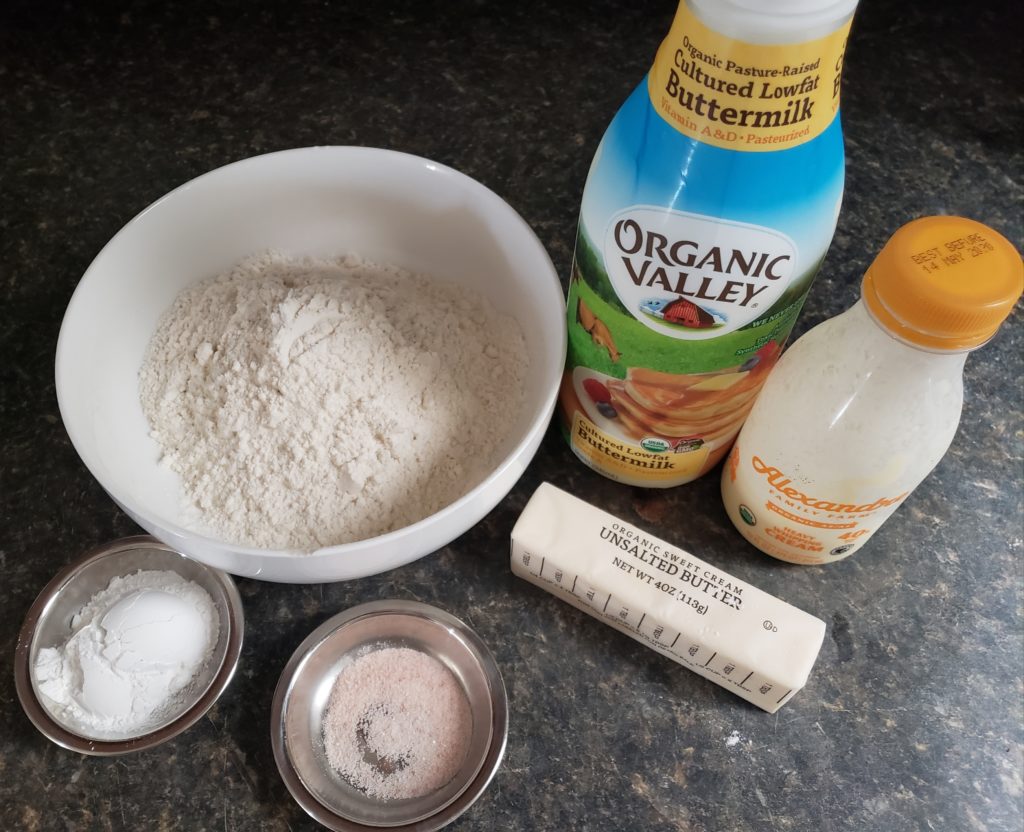
Time: 45 minutes – 1 hour
This recipe yields about 12 biscuits
Ingredients –
2 1/2 cups all purpose flour (I highly recommend using the King Arthur’s organic all-purpose white flour)
2 tbsp baking powder
1/2 tsp salt
1/2 cup butter (8 tbsp, 1 stick – frozen. I recommend an organic unsalted sweet cream butter)
1 cup buttermilk (chilled – I am using the organic valley brand here)
1/4 cup heavy whipping cream (chilled – I am using the organic Alexander Family Farm brand here, it has a higher fat content which is great for this recipe)
1 tbsp butter (for coating the top)
Preheat oven to 450 F.
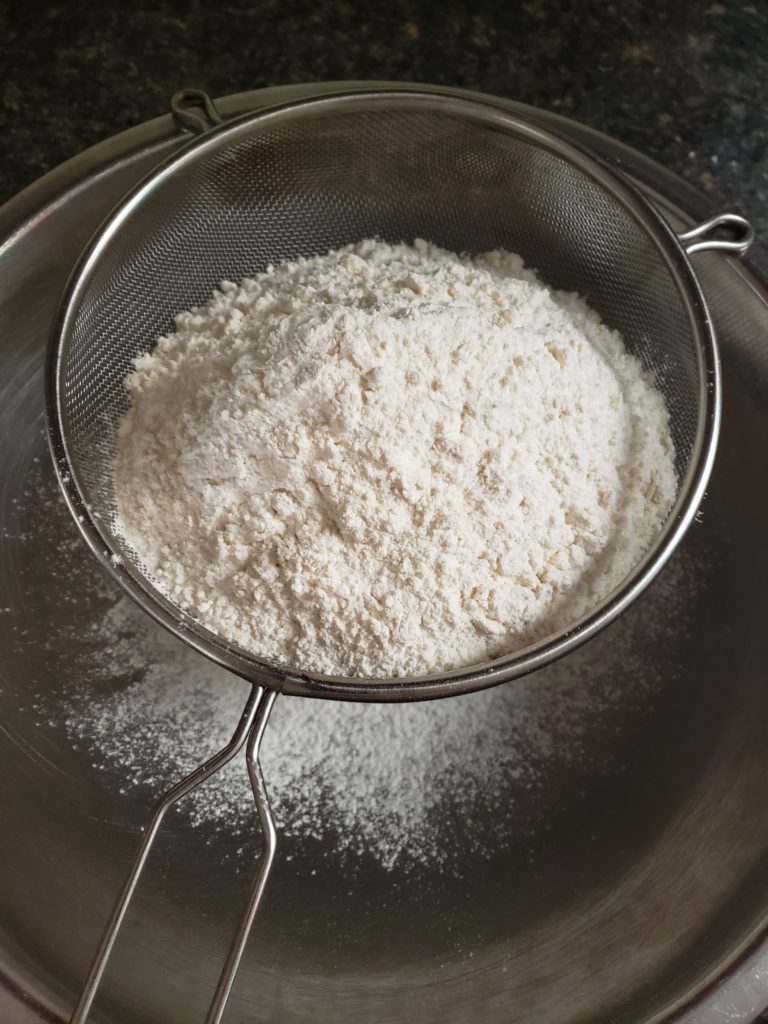
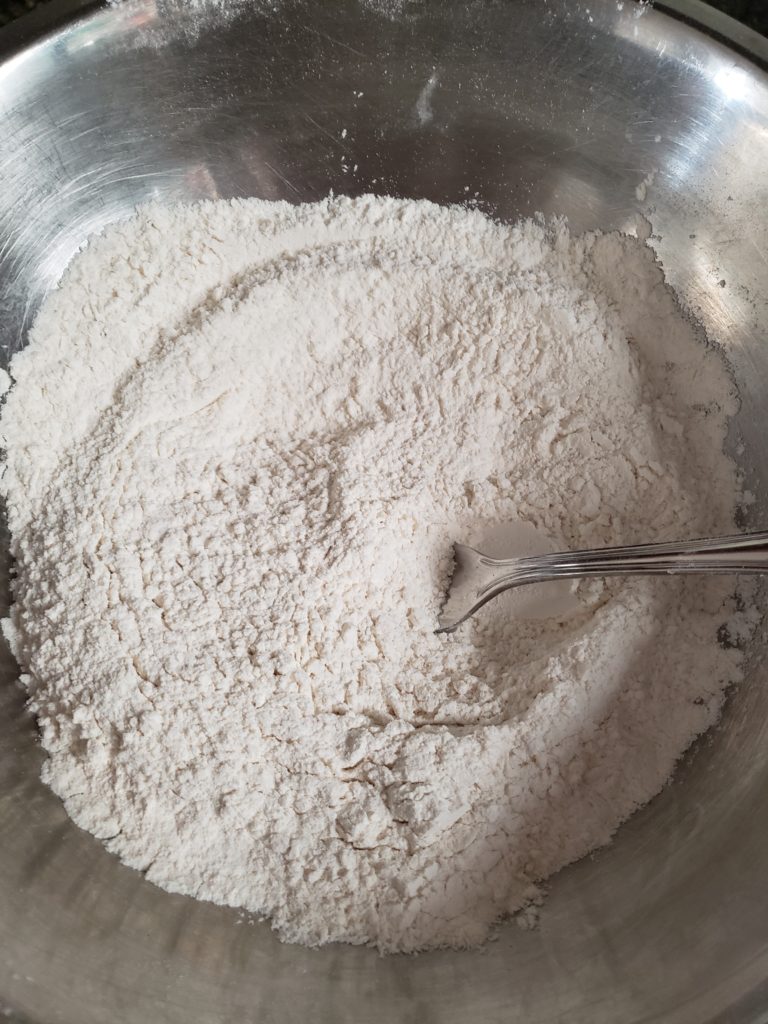
Mix 2 1/2 cups white flour, 2 tbsp baking powder, and 1/2 tsp salt together and sift it twice. Use a fork and give it another thorough mix and set the flour aside
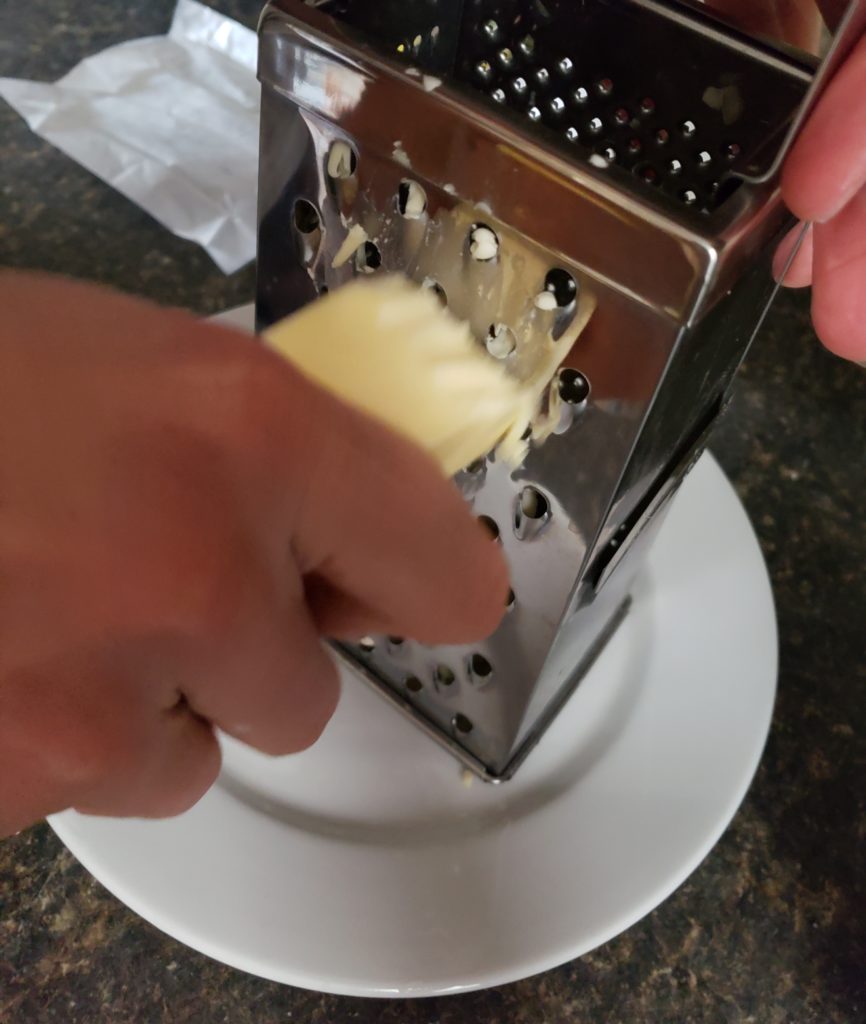
Grate the frozen butter. I like to grate it on top of a plate for easy transfer. If the butter begins to melt, stick the grated butter back in the freezer for a minute or 2.
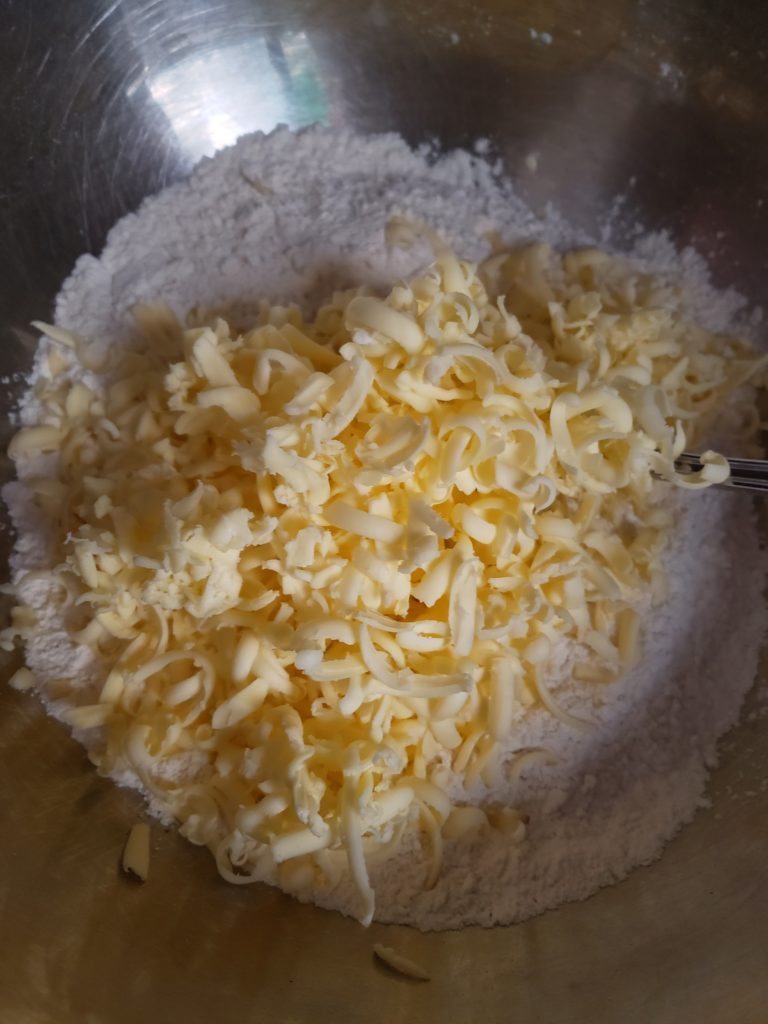
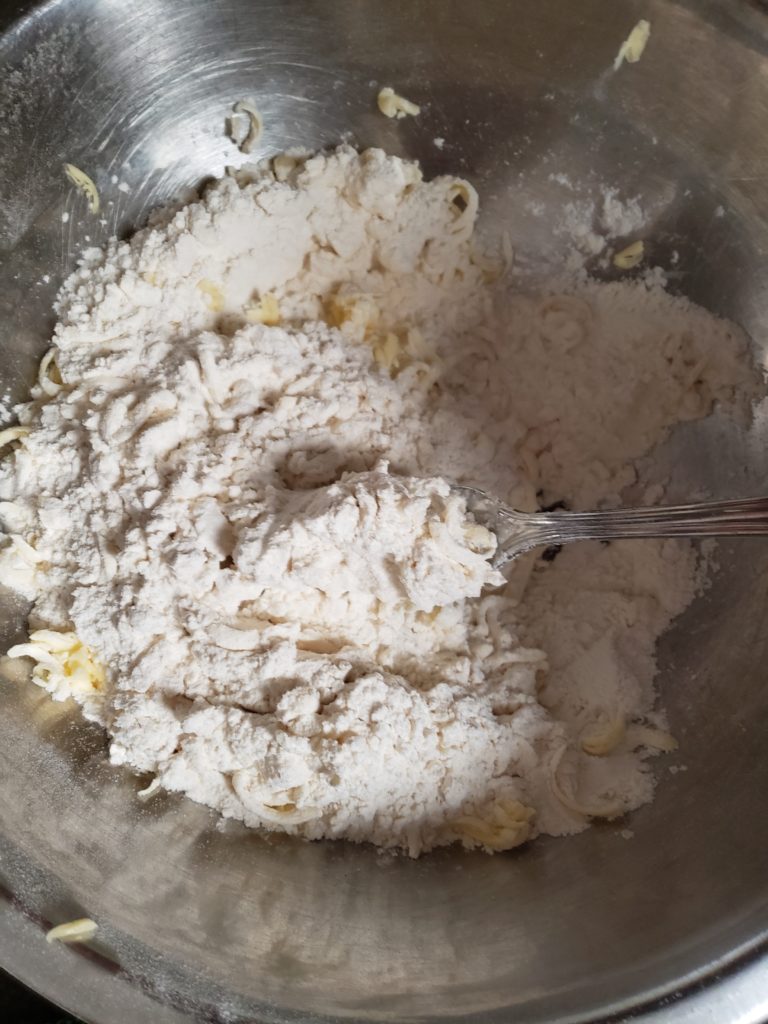
Pour the grated butter into the flour bowl and mix with a fork for about 1 – 2 minutes. The mixture doesn’t need to be fully combined. Place this into the freezer for 5 minutes.
While the flour and butter mixture is in the freezer, take out the buttermilk (1/2 cup) and whipping cream (1/4 cup) and measure it into a bowl. Mix a little bit and set it aside.
Take out a cookie pan and lay a sheet of foil or baking sheet on it (I tried both, and I actually prefer using foil for this recipe). Set this pan aside for later.
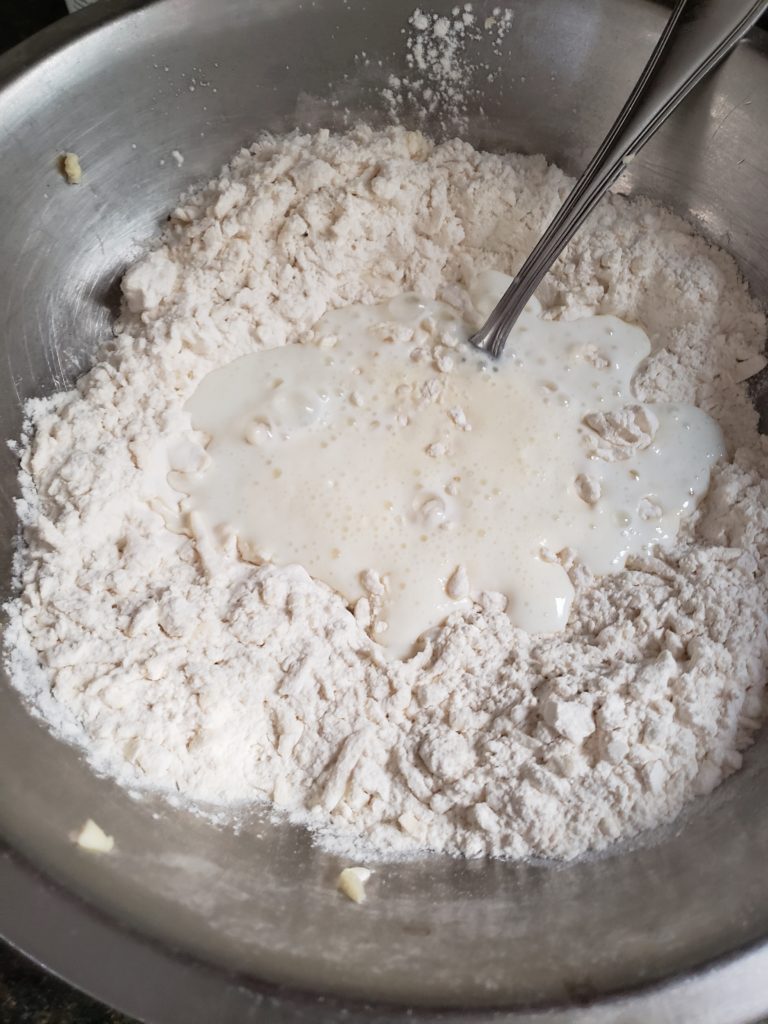
Now take out the flour and butter mixture from the freezer and make a little hole in the middle of the bowl. Pour the buttermilk and whipped cream mixture into the middle.
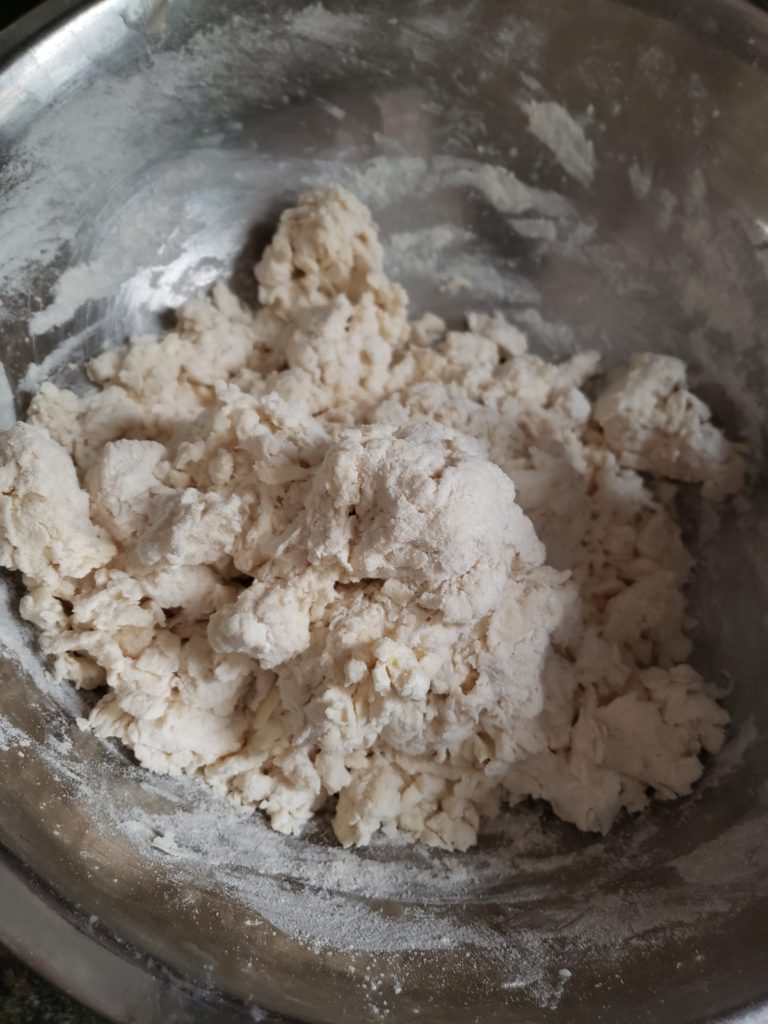
This next step has to be done fairly quickly to prevent the butter from melting. Stir the mixture with a fork about 15-20 times, until it is semi incorporated. The mixture should still be a little crumbly, consistency shown in the picture above.
We want to keep the bits of butter solid and cold within the dough, so that when it bakes it will create air pockets and layers as it evaporates in the oven.
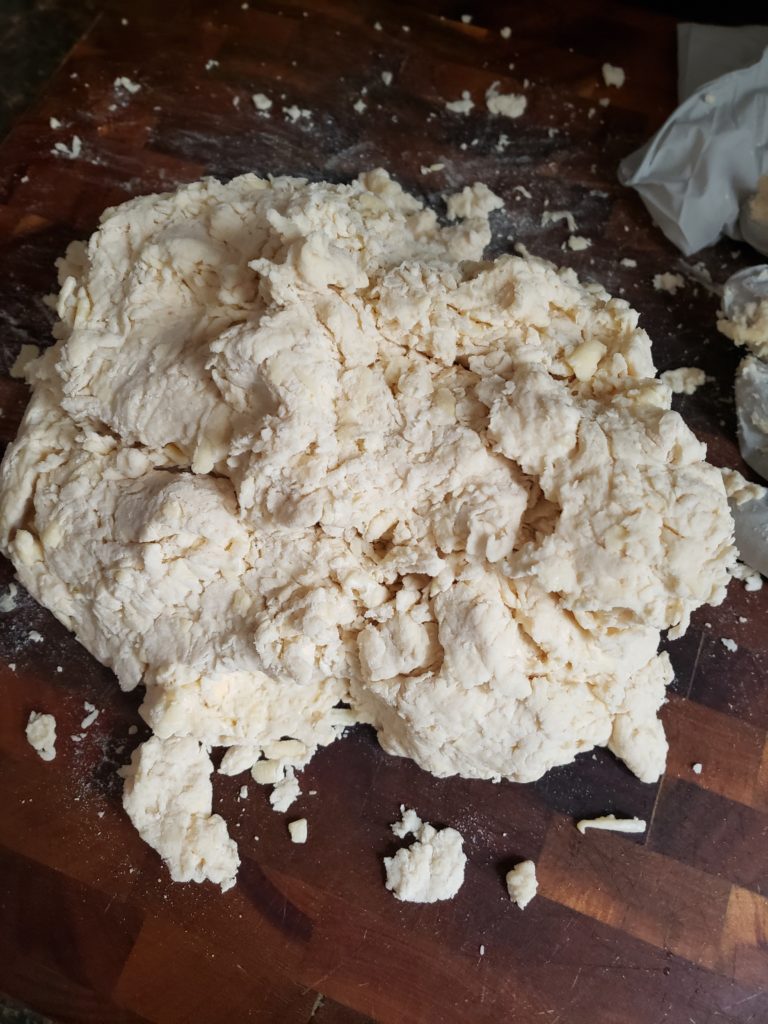
Sprinkle a little bit of flour on a flat surface (I used a cutting board for reference – 14″ by 14″). Place the dough on top of floured surface.
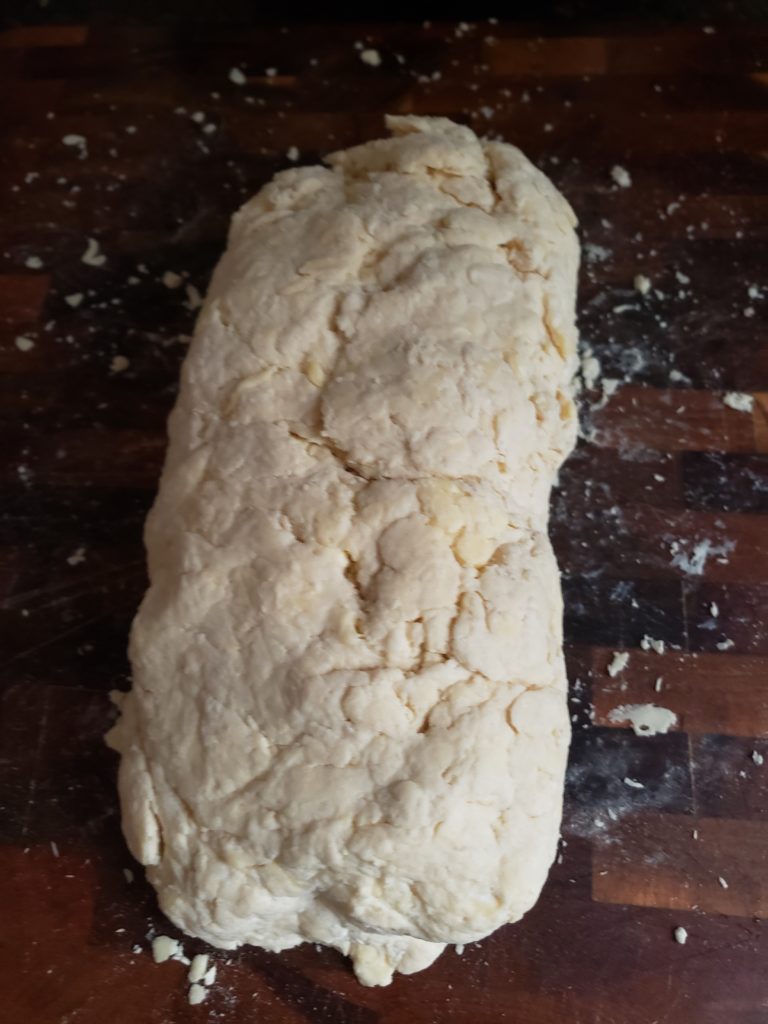
Form the dough and loosely mix with your hands about 5 times to form the dough into a thick rectangular shape (see picture above). Do this step fairly quickly to prevent the butter from melting. The dough will still be crumbly and this is fine.
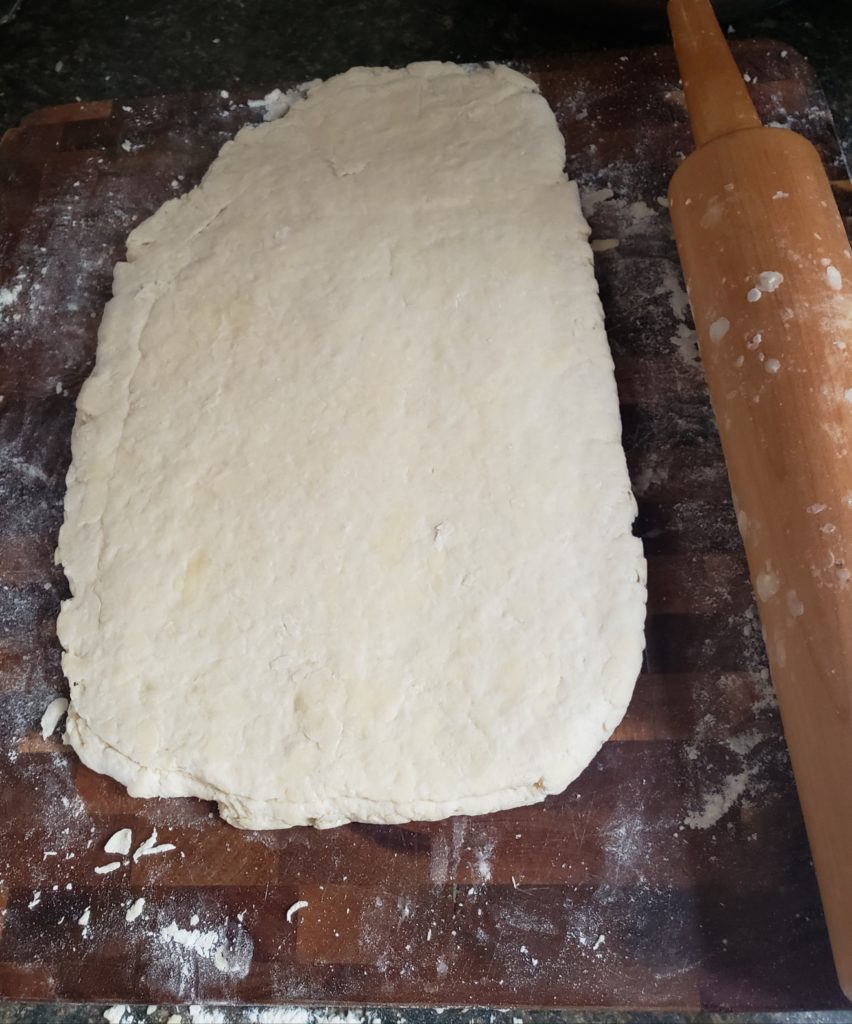
Now let’s get ready for some rolling! Roll this dough gently 7 times to about 1/2 inch in height and 14 inches in length. =P Arm workout, go!
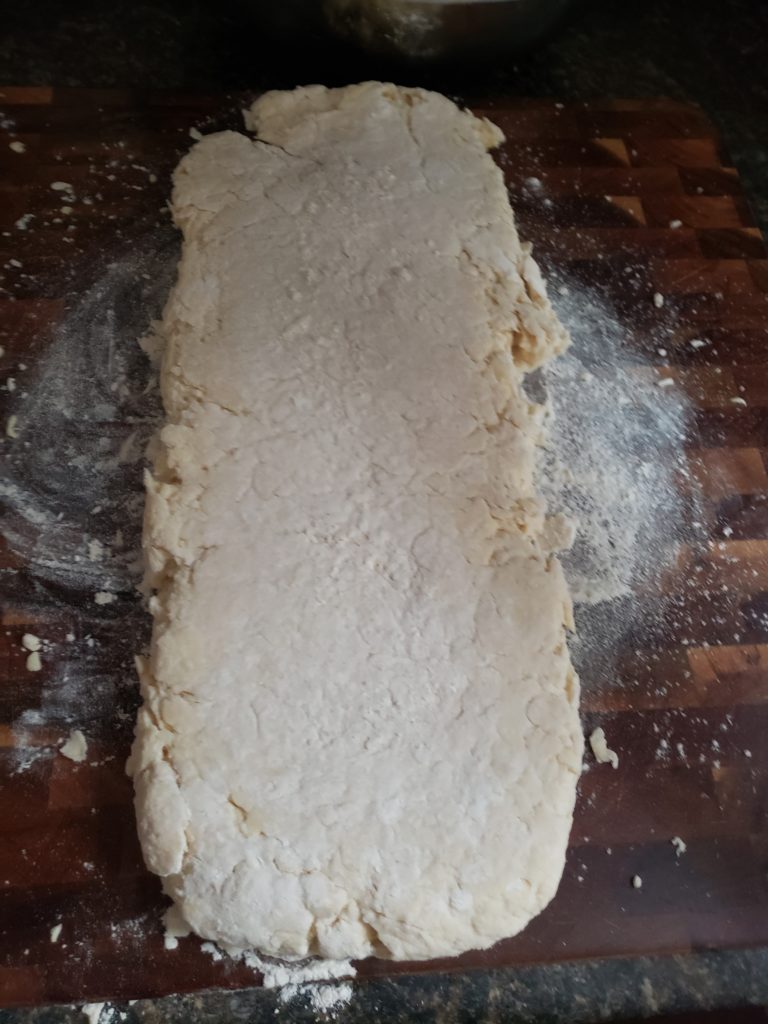
1st roll out – Sprinkle a little bit of flour on the top of the dough and coat the rolling pin with flour. This will prevent the dough from sticking. You do not need to roll the dough super flat.
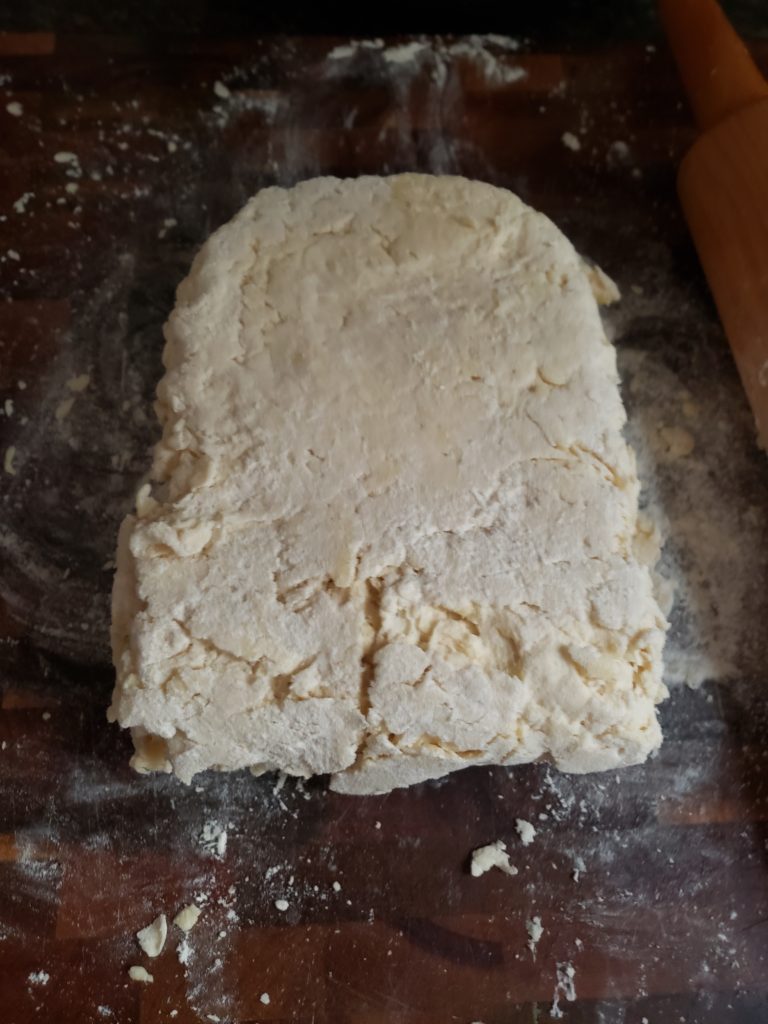
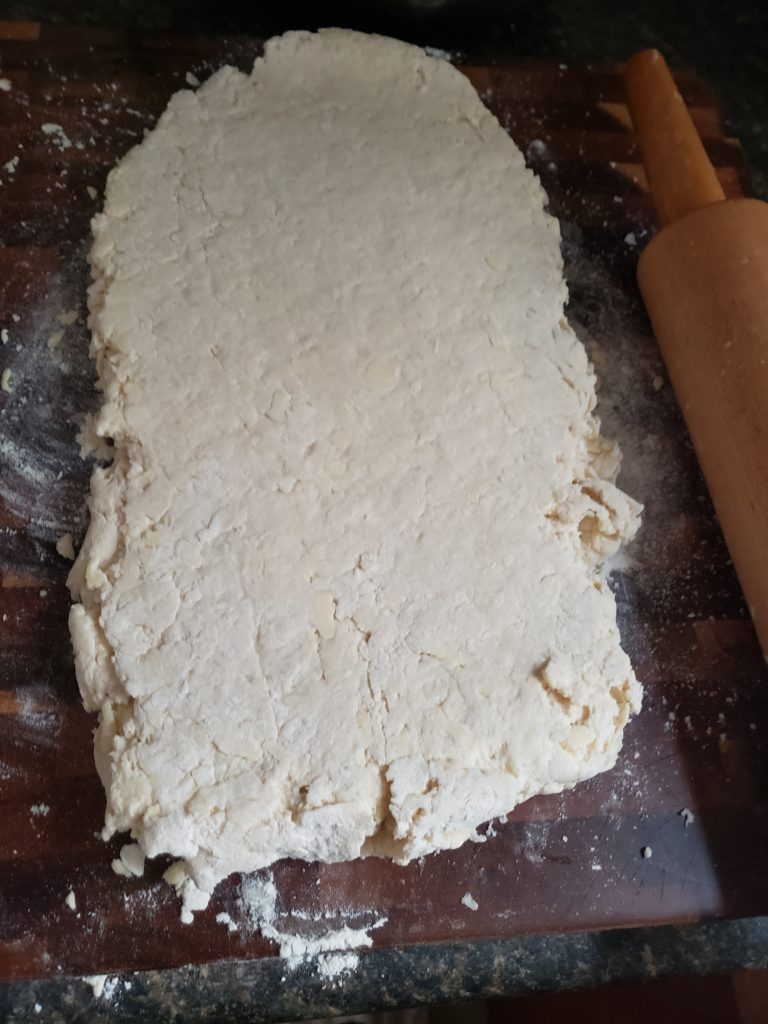
2nd roll out – Again, sprinkle a little bit more flour on the cutting board and top of the dough. Fold the dough in half and roll!
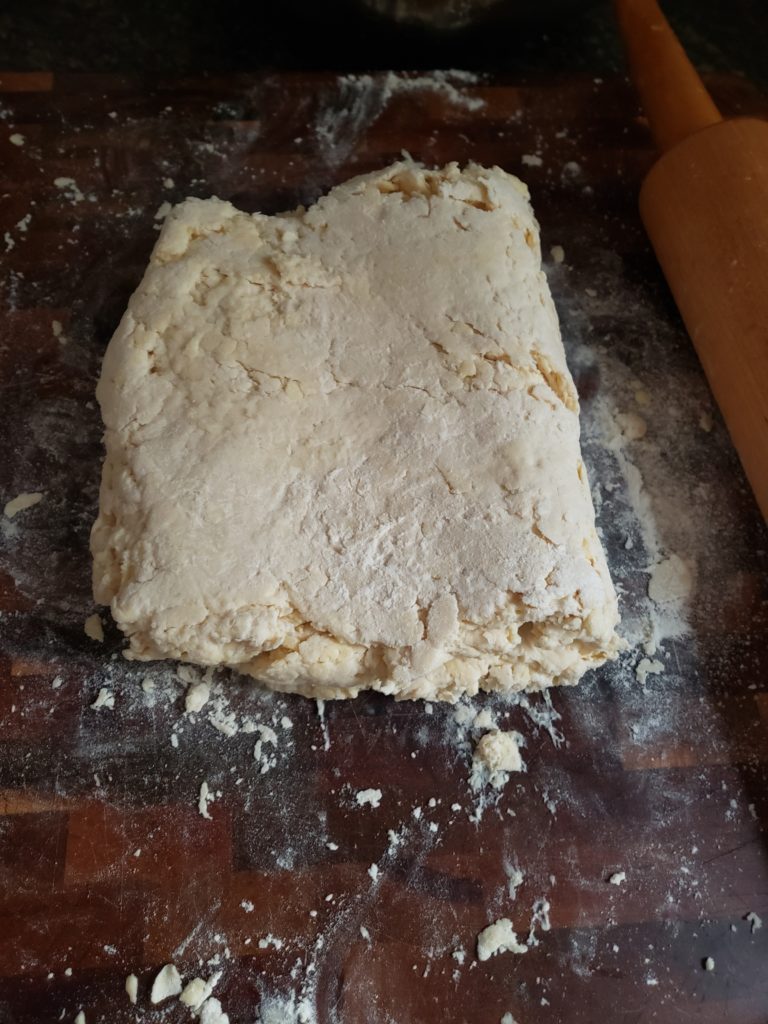
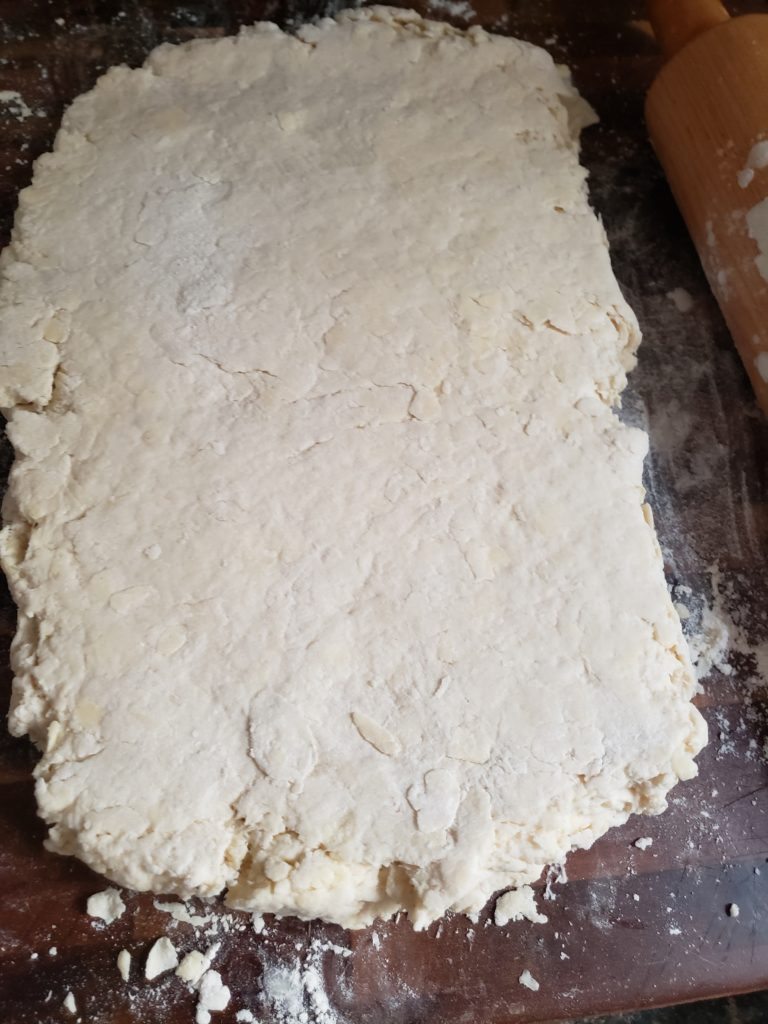
3rd roll out – Sprinkle a little more flour if needed, fold the dough in half, turn it 90 degrees, and roll! The width length will start looking slightly wider, just try to get the dough in the general range of the 1/2 inch and 14 inches long.
Repeat the same procedure as the 3rd roll out for the 4th, 5th, 6th, and 7th roll out.
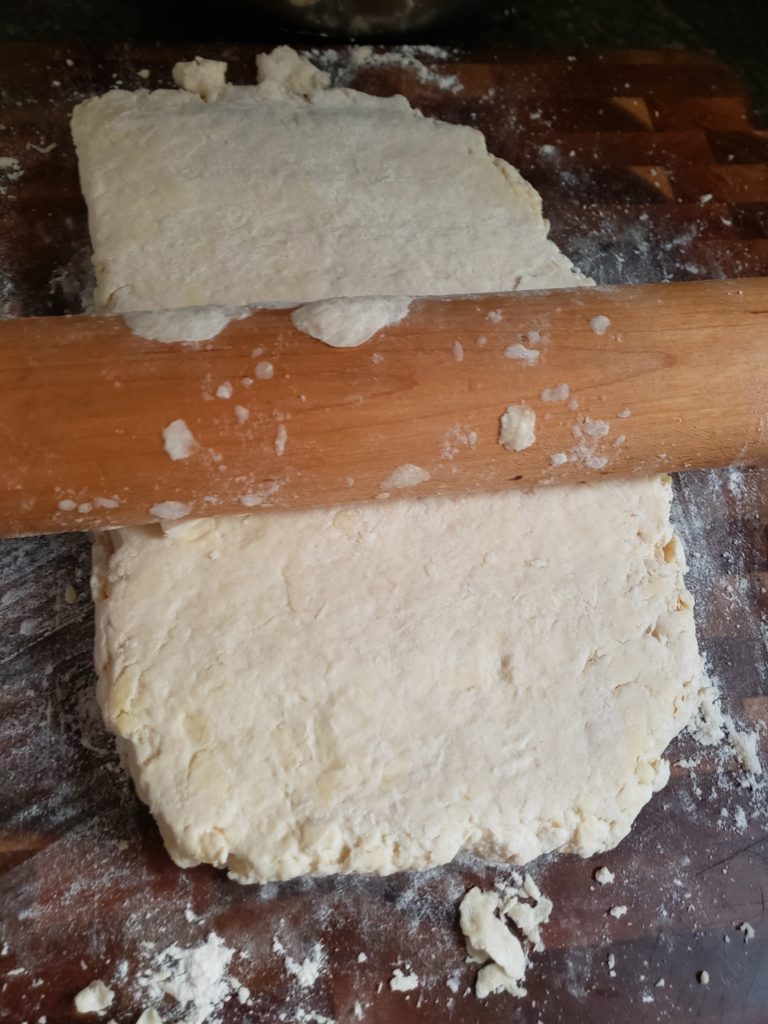
Now get the cookie pan that was prepared earlier.
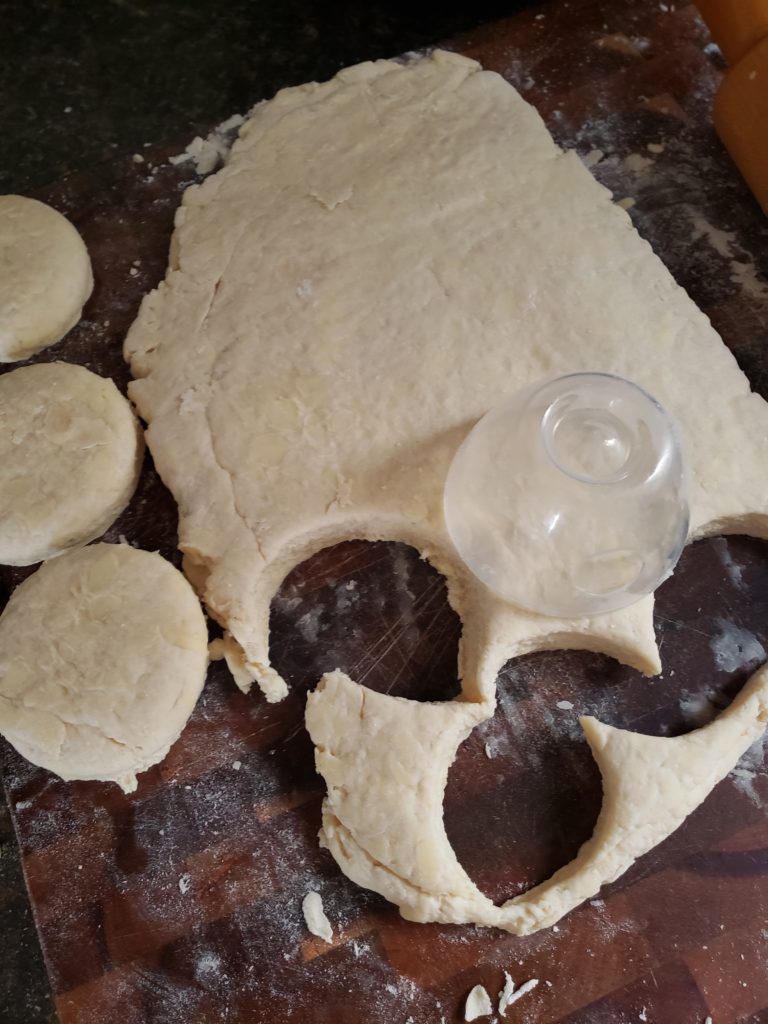
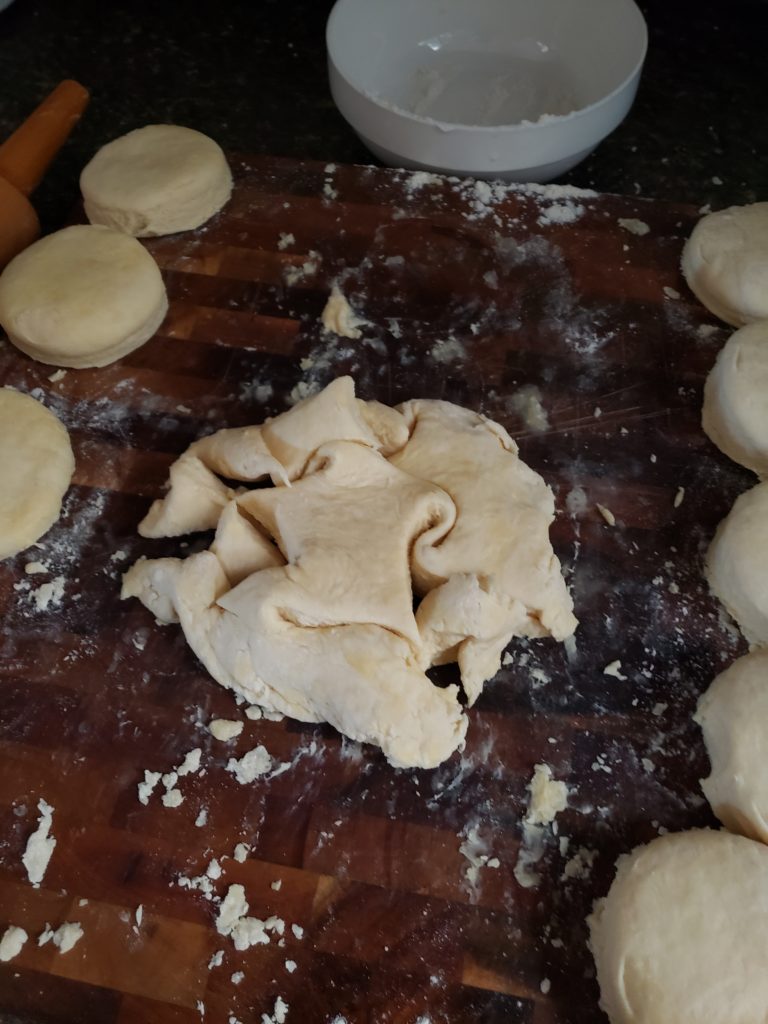
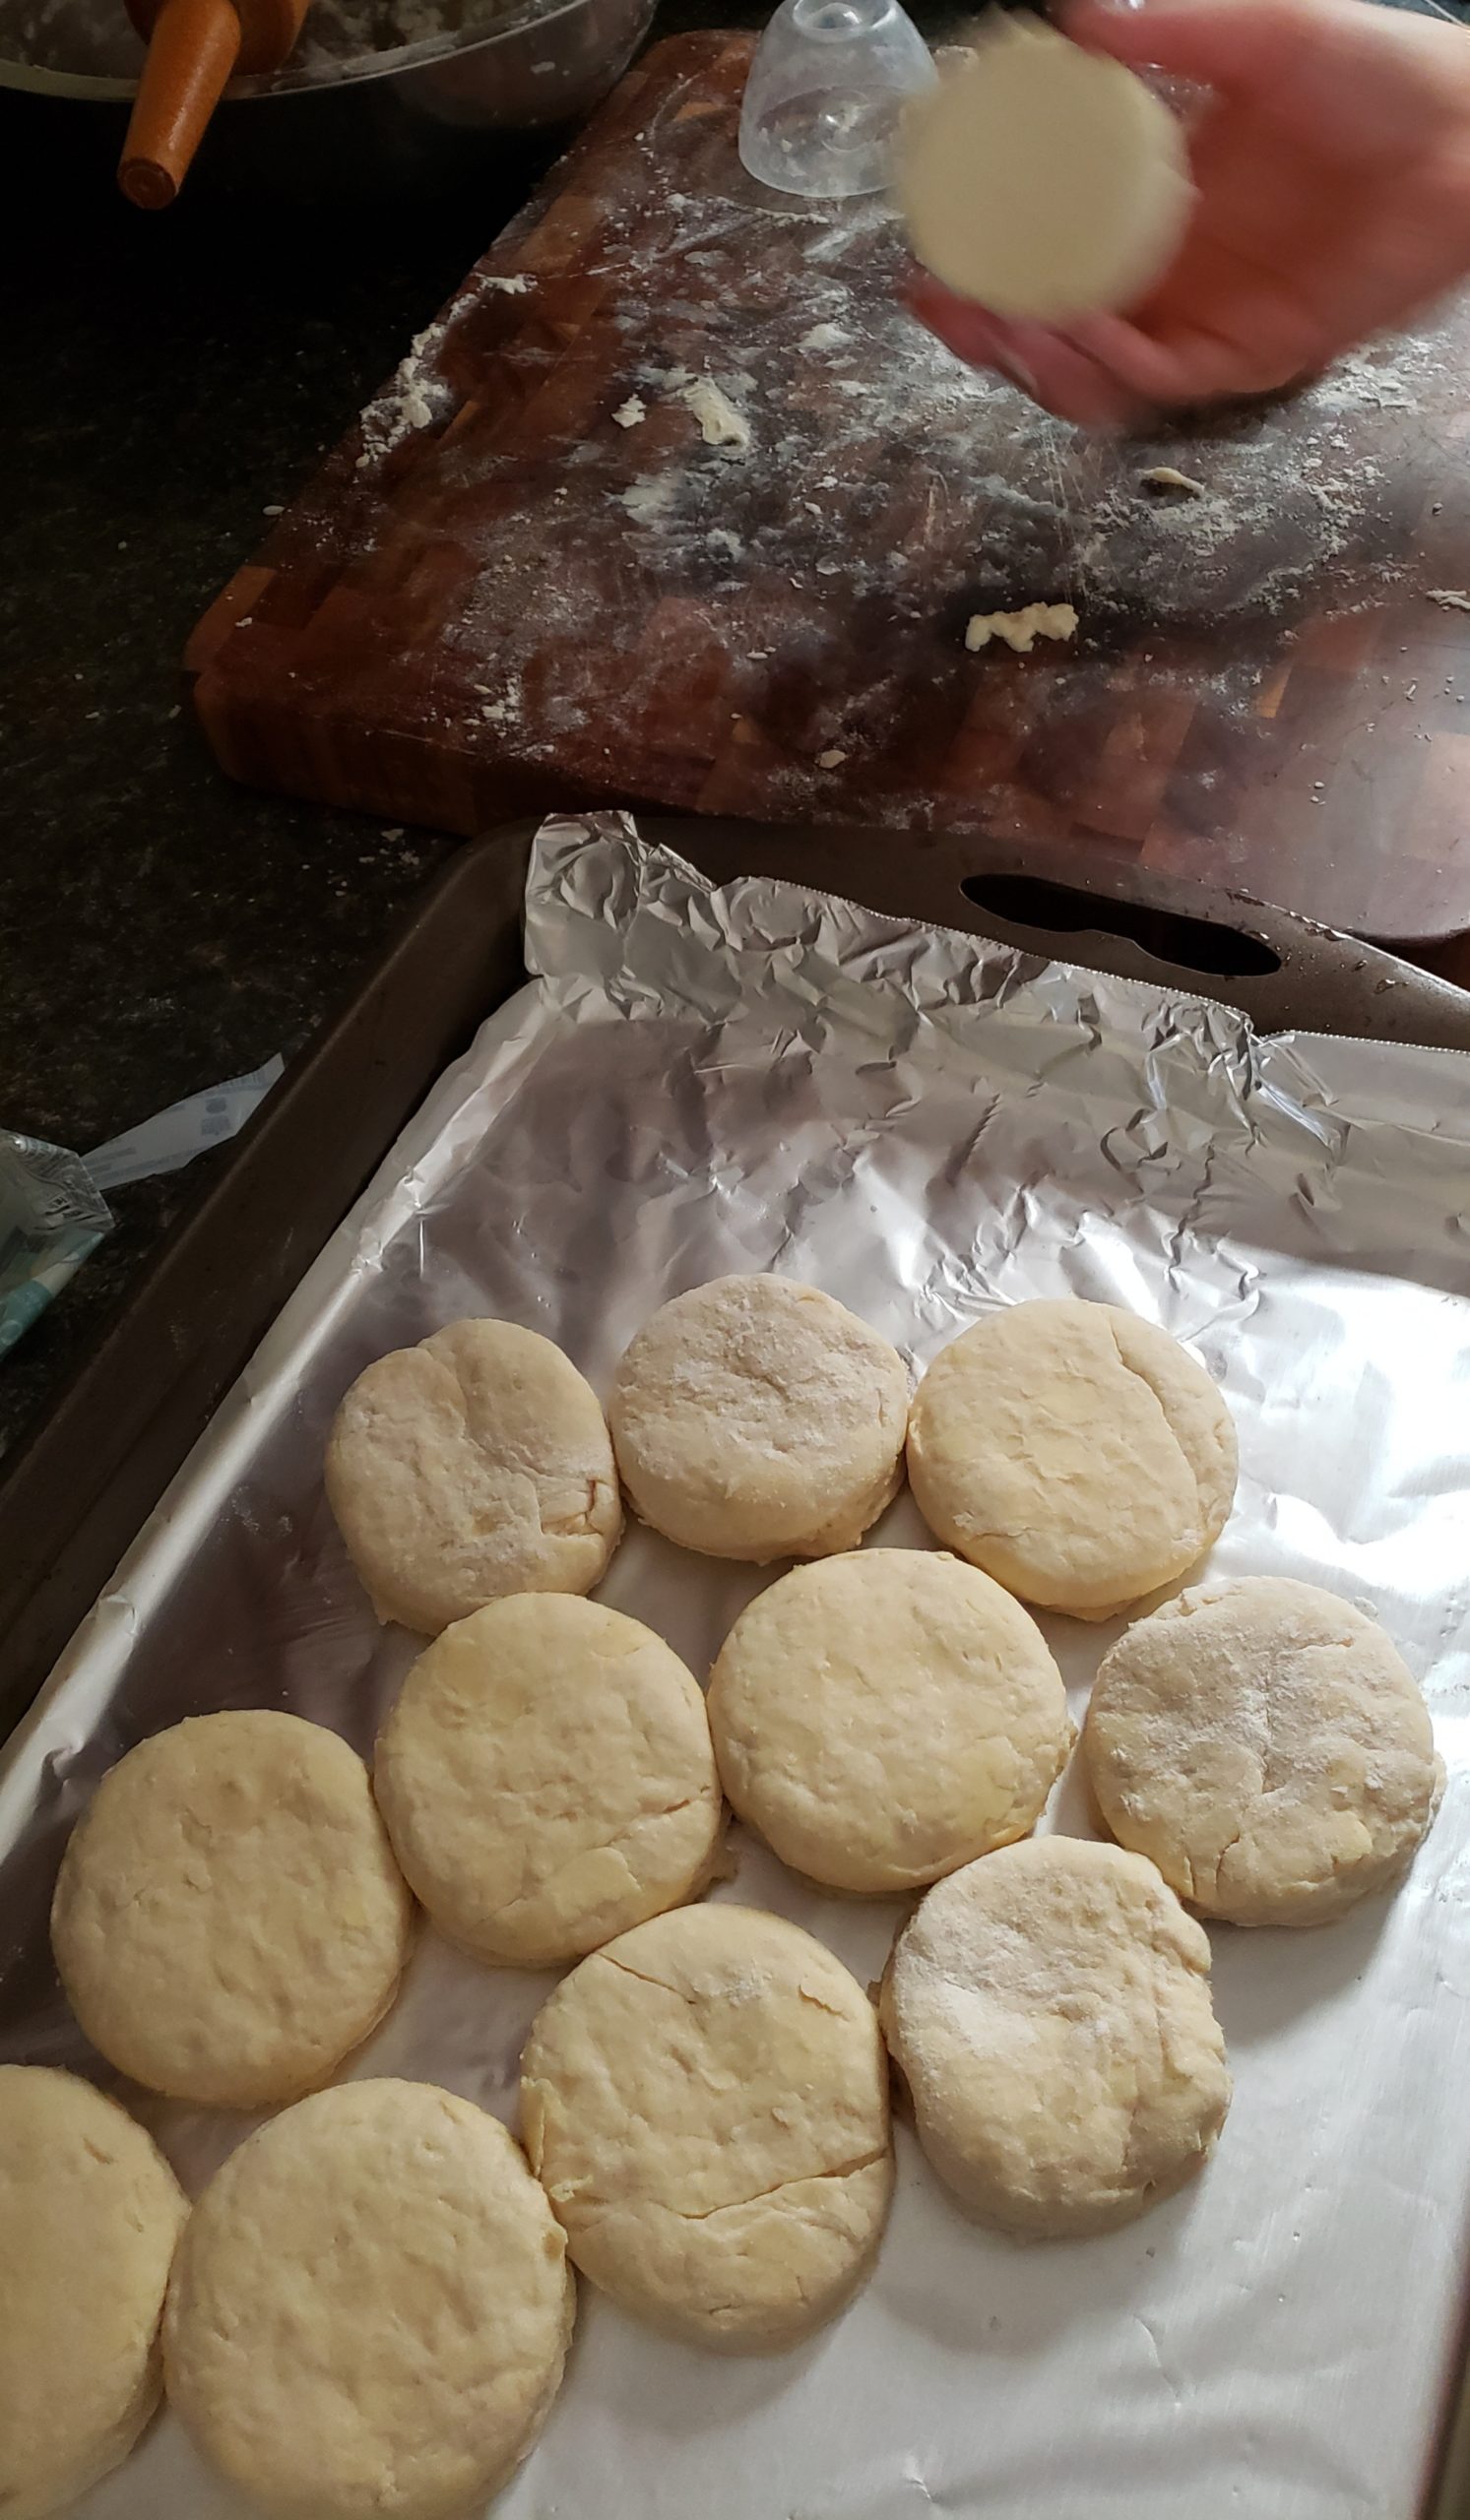
Use a circular cookie cutter 3 inches in diameter or any circular cutter will work, such as a baby bottle cap used here ;P Place the circular pieces loosely next to each other.
Then pop the pan into the freezer for about 10 minutes.
While the dough is in the freezer, cut about 1 tbsp butter and melt it for about 20 seconds in the microwave. Let it cool. This will be used for coating the top.
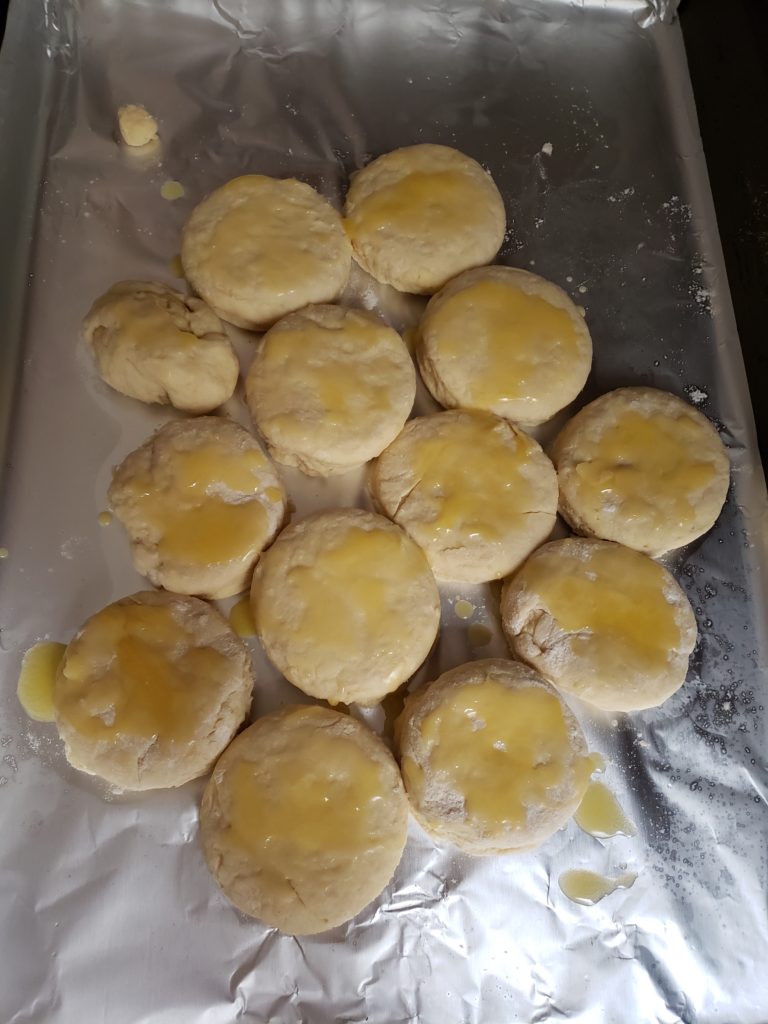
he insisted that I include it 😛
Once the 10 minutes is up, take the pan out of the freezer. Coat the tops with the melted butter quickly! Then pop the pan into the oven and bake for 15 minutes at 450 F. Make sure to set a timer!
Your house will smell so divine from the biscuits all toasty and baking in the oven!
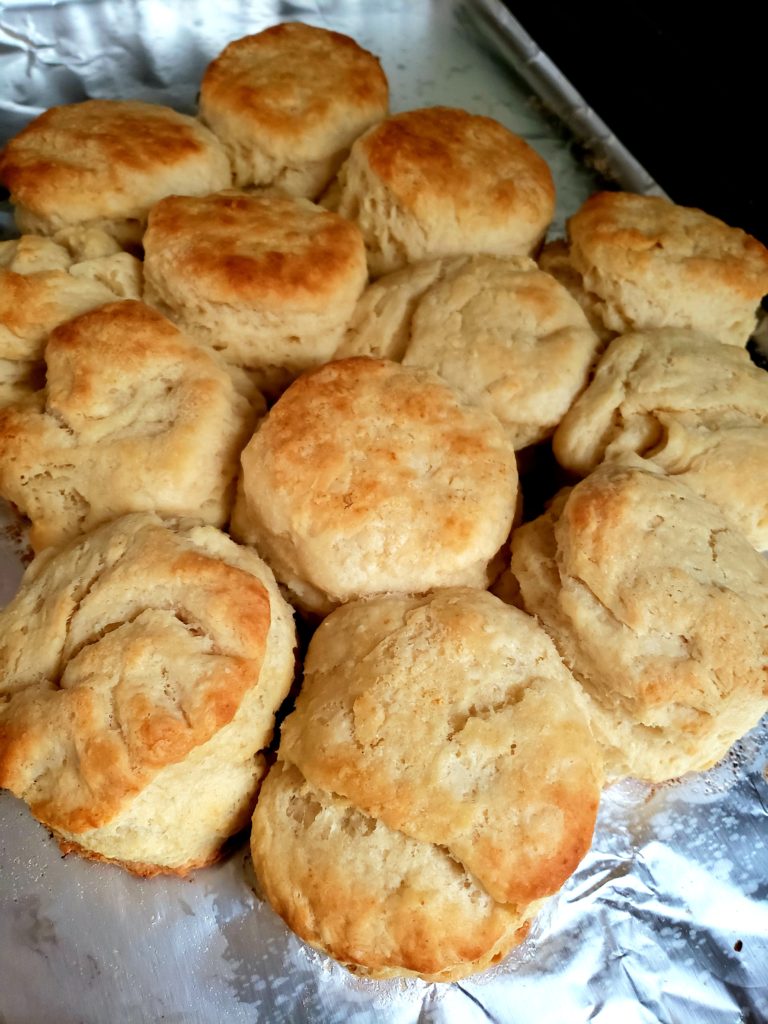
After 15 minutes, take them out and place on a rack to cool! I take them off immediately so the bottoms do not continue to cook, and it keeps the biscuits nice and golden brown.
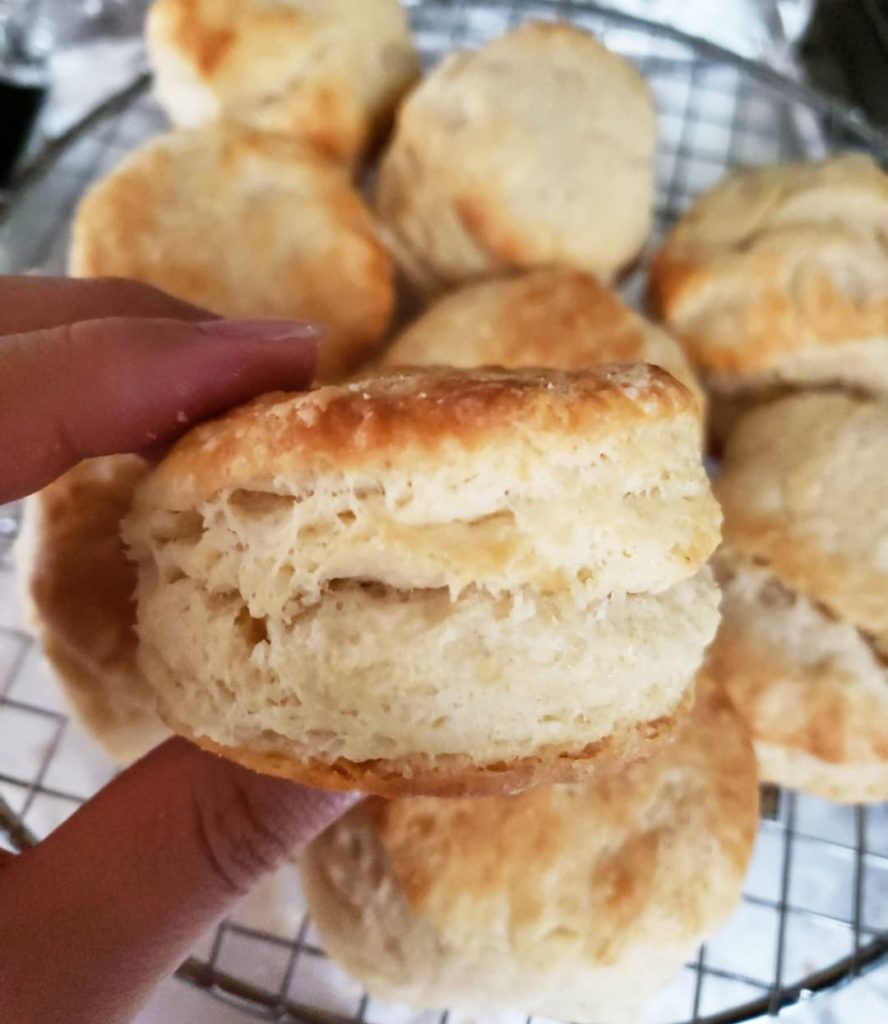
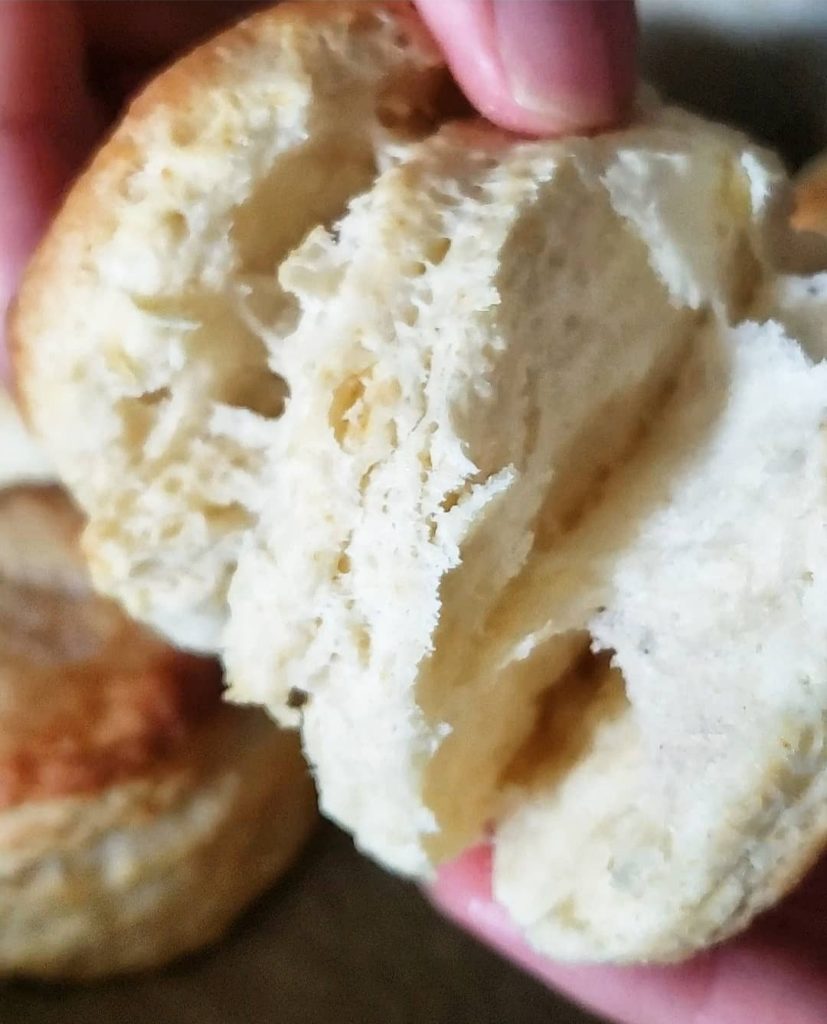
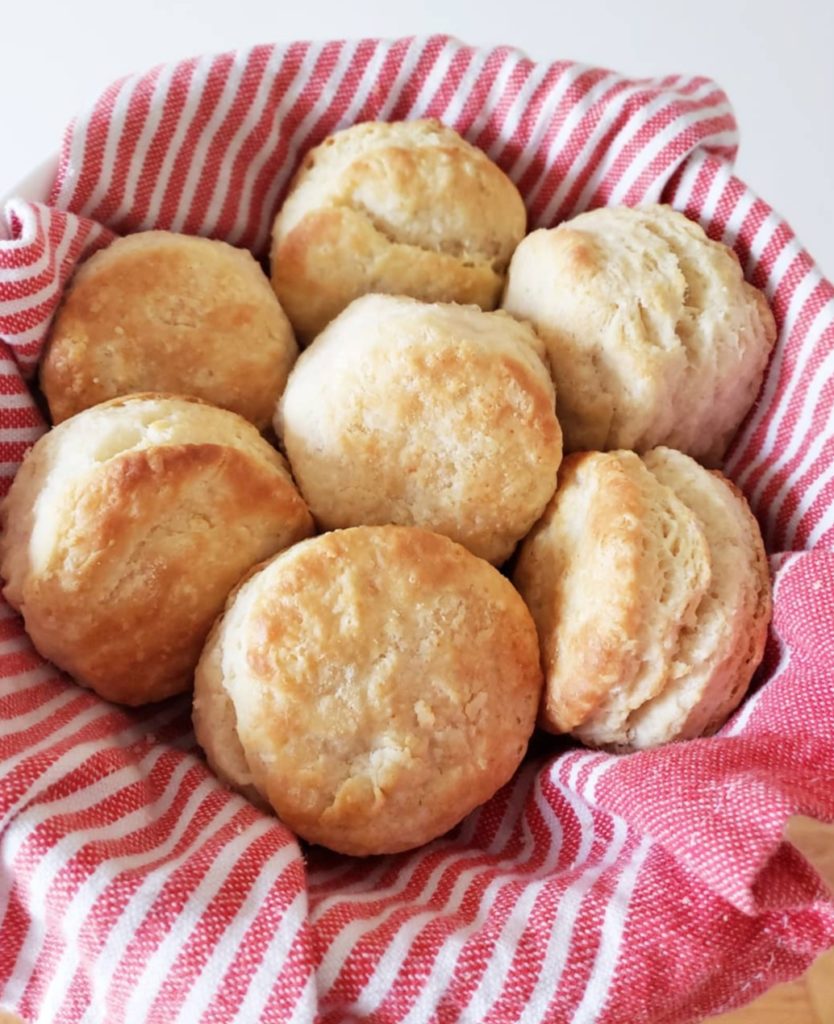

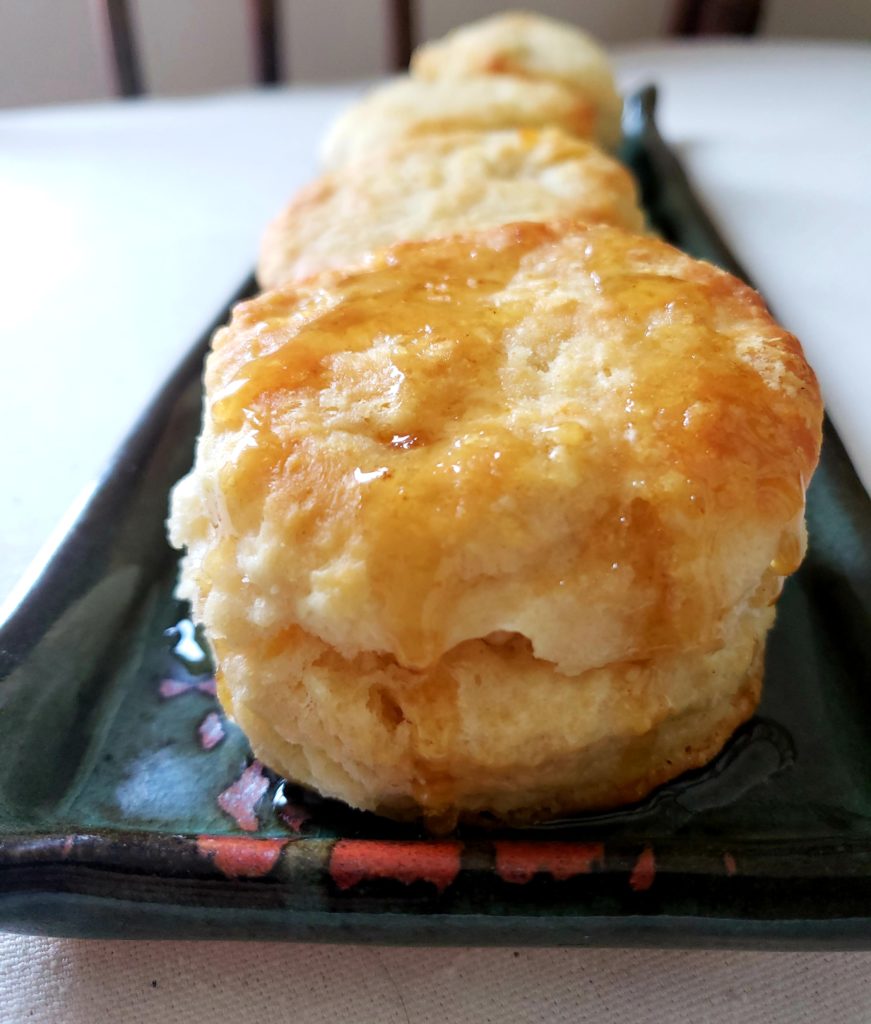
Enjoy with gravy, jam, honey, cream cheese, or just plain! Kai likes it with cream cheese. I prefer it with a drizzle of honey accompanied with milk. I also tried this with congee/porridge, and it was scrumptious. These work well for a quick breakfast bite too, just give it a couple minutes of toasting. Happy baking!! ;D


